

Ligurian Farinata (Crispy Chickpea Flour Flatbread)
Farinata is the street food of the Ligurian coast: a thin, golden flatbread made from little more than chickpea flour, water, olive oil and salt, baked in a hot pan until the edges crisp and the center turns tender. It’s naturally gluten-free and vegan, and it costs almost nothing to make.
The recipe is simple; the technique is everything. My first farinata baked through but came out pale on top and slightly gummy in the middle. The fix wasn’t a new batter ratio. It was a very hot, well-oiled cast-iron pan, a thinner, even layer of batter, a fan oven and a short finish under the broiler.
Olive oil does a lot of the work here, both in the batter and in the pan. My guide to how to cook with olive oil explains why it handles high oven heat so well. And because it’s made from chickpeas, farinata brings the goodness of legumes, which Harvard’s Nutrition Source describes as an inexpensive source of protein, vitamins, complex carbohydrates and fiber.
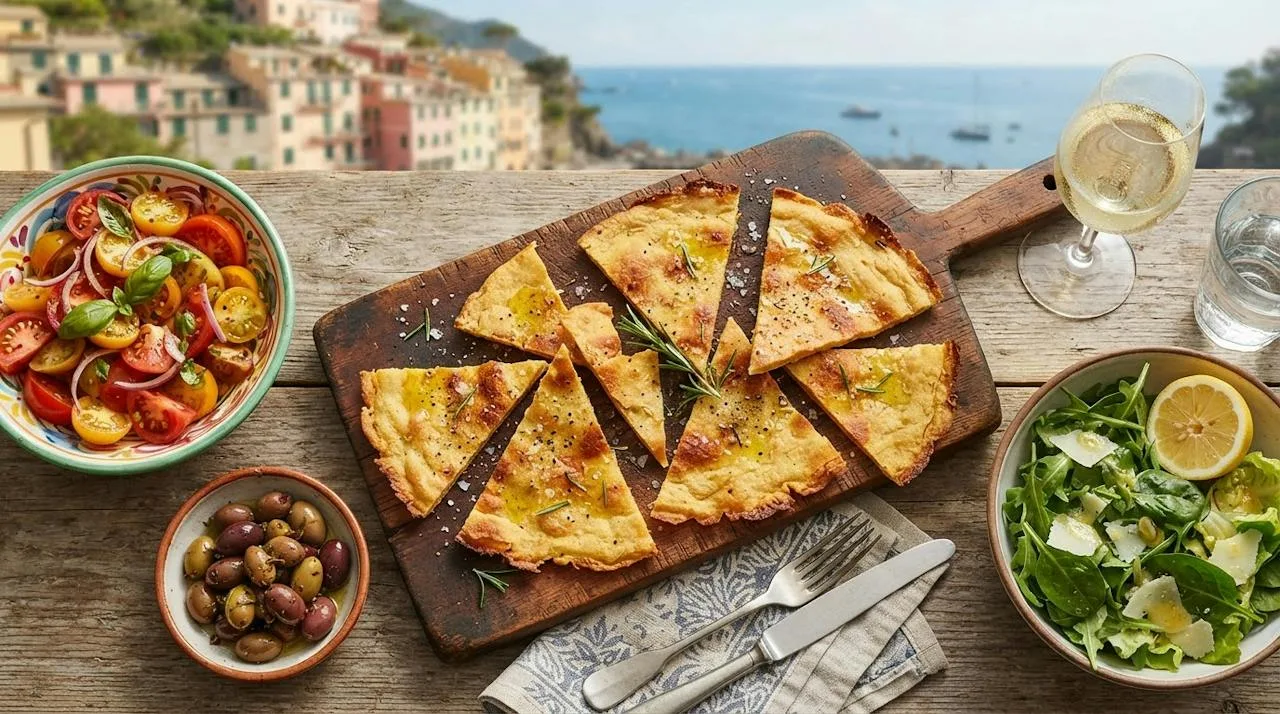
Follow this recipe and you’ll get a farinata with deeply golden, crisp edges, a thin, tender center and a bottom that releases from the pan in one piece.
What I Learned From Testing This Recipe
Recipe Testing Note Tested in 2 rounds. Last updated: October 2026. Equipment: 26 cm cast-iron skillet, preheated in the oven for 15 minutes; oven at 220°C (fan off in round 1, fan on in round 2); broiler for the final 2–3 minutes in round 2. Key variables tested: fan vs. conventional oven, broiler finish, batter depth, resting time, oil in the batter and pan, dried vs. fresh rosemary.
For round 1, I whisked 120 g chickpea flour with 360 g water, 20 g olive oil, 4 g salt, black pepper and 1 teaspoon of dried rosemary, rested the batter for 2 hours and poured it into a preheated cast-iron skillet with 15 g of oil. I baked it at 220°C with the fan off for about 25 minutes on the middle rack. It baked through, but the top stayed fairly pale, the center was slightly gummy, the seasoning was a little bland and the rosemary was barely noticeable. Part of the problem was that I hadn’t spread the batter evenly, so the center was slightly deeper than the edges.
For round 2, I kept the same flour and water, because the batter ratio wasn’t the problem. I added a little more oil to the batter and to the pan, a little more salt and some fresh rosemary, rested the batter for 4 hours, swirled it into an even layer, baked with the fan on and finished under the broiler. The crust was noticeably better.
What I changed after testing: Olive oil in the batter went from 20 g to 25 g, oil in the pan from 15 g to 20 g, salt from 4 g to 5 g and resting time from 2 to 4 hours. I switched from 220°C conventional to 220°C fan on the upper-middle rack, added 1 tablespoon of fresh rosemary, spread the batter evenly and added a 2–3 minute broiler finish. Round 1 had a slightly gummy center, a pale top and a bland flavor.
Ingredients
Makes one 26 cm flatbread: 2 generous servings, or 4 smaller side servings. Mixing: 5–7 minutes | Resting: 4 hours | Pan preheating: 15 minutes | Baking: 20–22 minutes plus 2–3 minutes under the broiler | Total: about 4 hours 45 minutes, mostly hands-off
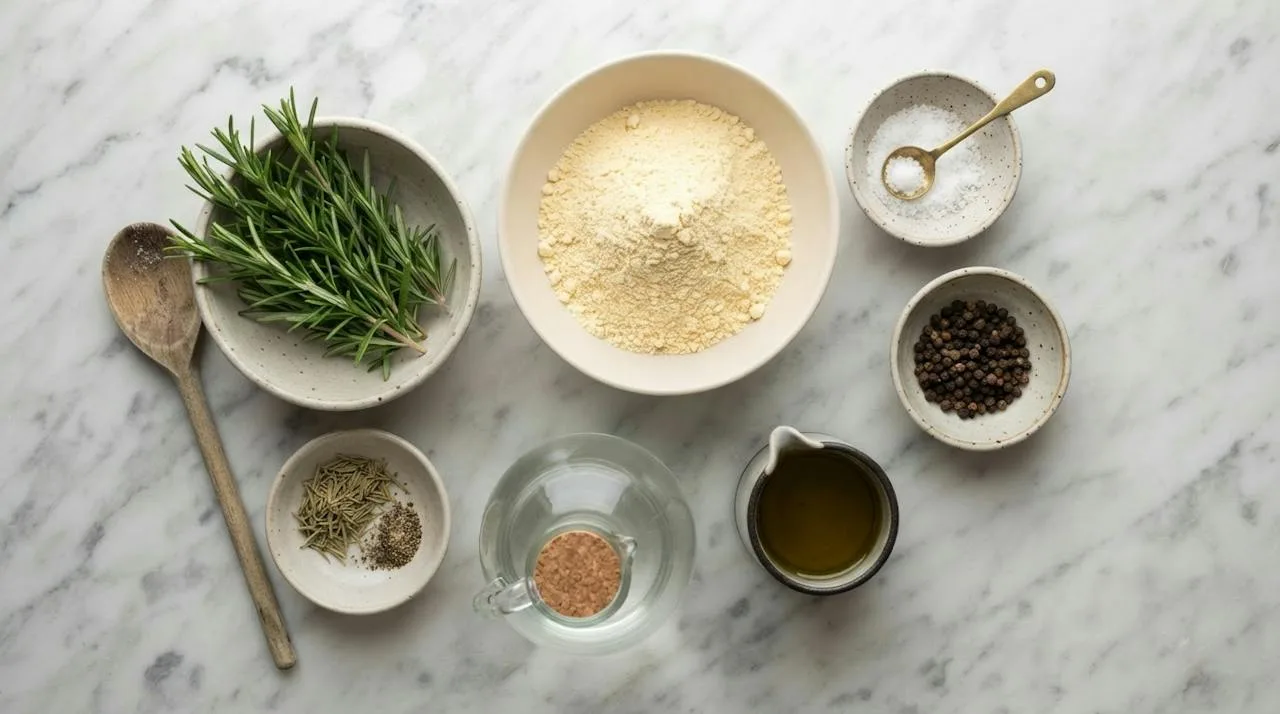
- 120 g chickpea flour (ordinary finely milled chickpea flour, sometimes sold as gram flour or besan)
- 360 g water
- 25 g olive oil, for the batter
- 20 g olive oil, for the pan
- 5 g fine salt
- ½ teaspoon freshly ground black pepper
- 1 teaspoon dried rosemary
- 1 tablespoon finely chopped fresh rosemary
To serve: extra virgin olive oil, flaky salt, black pepper and a little fresh rosemary.
Before You Start: What to Watch For
- Plan for the rest. The batter needs about 4 hours. A 4-hour rest gave a slightly smoother batter and better texture than 2 hours.
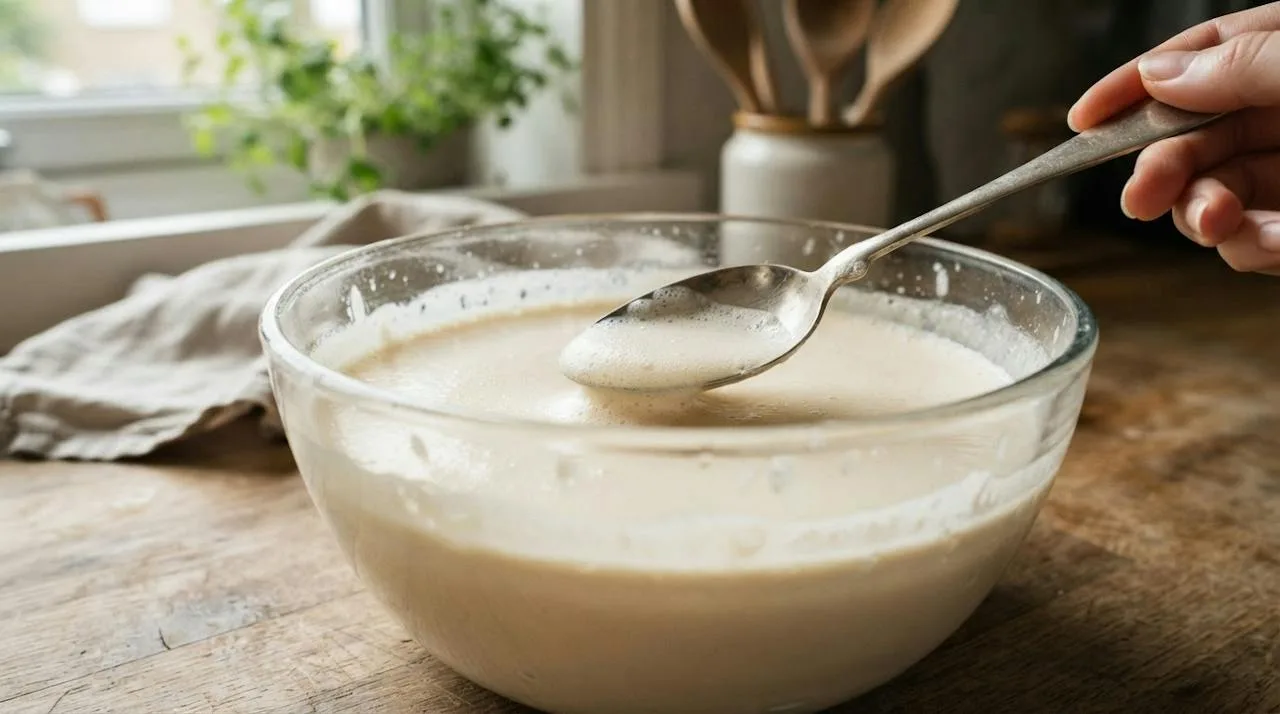
- Expect a thin batter. With a 3-to-1 ratio of water to flour, the rested batter looks more like heavy cream than pancake batter. That’s correct.
- Preheat the pan properly. A well-oiled cast-iron skillet preheated for 15 minutes made the edges sizzle the moment the batter went in, and gave a much better bottom crust than a cold pan.
- Keep it thin and level. Aim for a batter depth of about 5 to 6 mm in a 26 cm skillet. In round 1, a slightly deeper center stayed soft and gummy while the edges crisped.
- Use fresh rosemary as well as dried. Dried rosemary alone was barely noticeable; fresh rosemary gave a much stronger aroma. My fresh vs. dried herbs conversion guide explains why tender, aromatic herbs behave so differently once dried.
- Use a good olive oil. You’ll taste it in the batter and on top. My comparison of extra virgin vs. light olive oil explains which bottle to choose.
Method
- Start the batter. Put the chickpea flour in a bowl and slowly whisk in about half the water until the mixture is smooth, with no lumps.
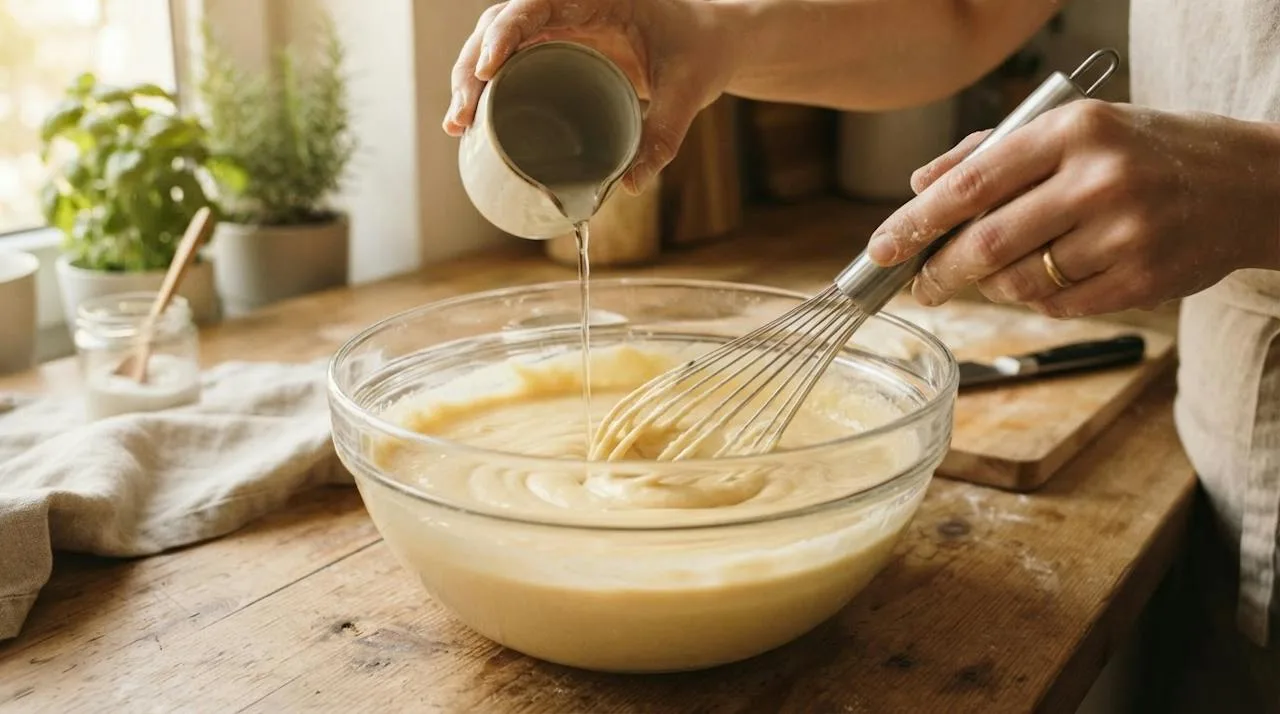
- Add the rest. Whisk in the remaining water, the 25 g of olive oil and the salt. The batter will be thin. This takes about 5 to 7 minutes in total.
- Rest for 4 hours. Cover the bowl and leave the batter to rest for about 4 hours at room temperature.
- Whisk and skim. Whisk the batter again. You’ll see a little foam on the surface; skim off the obvious foam with a spoon. Stir in the black pepper and the dried and fresh rosemary. The batter should look smooth and thin, close to heavy cream, with no flour lumps.
- Preheat the oiled pan. About 15 minutes before baking, set a rack in the upper-middle position, heat the oven to 220°C fan (about 425°F), coat a 26 cm cast-iron skillet generously with the 20 g of olive oil and put it in the oven to preheat for about 15 minutes.
- Pour and swirl. Carefully take the hot skillet out, check that it’s sitting level, and pour in the batter. The edges should sizzle immediately. Swirl the pan straight away so the batter covers the bottom in an even layer about 5 to 6 mm deep.
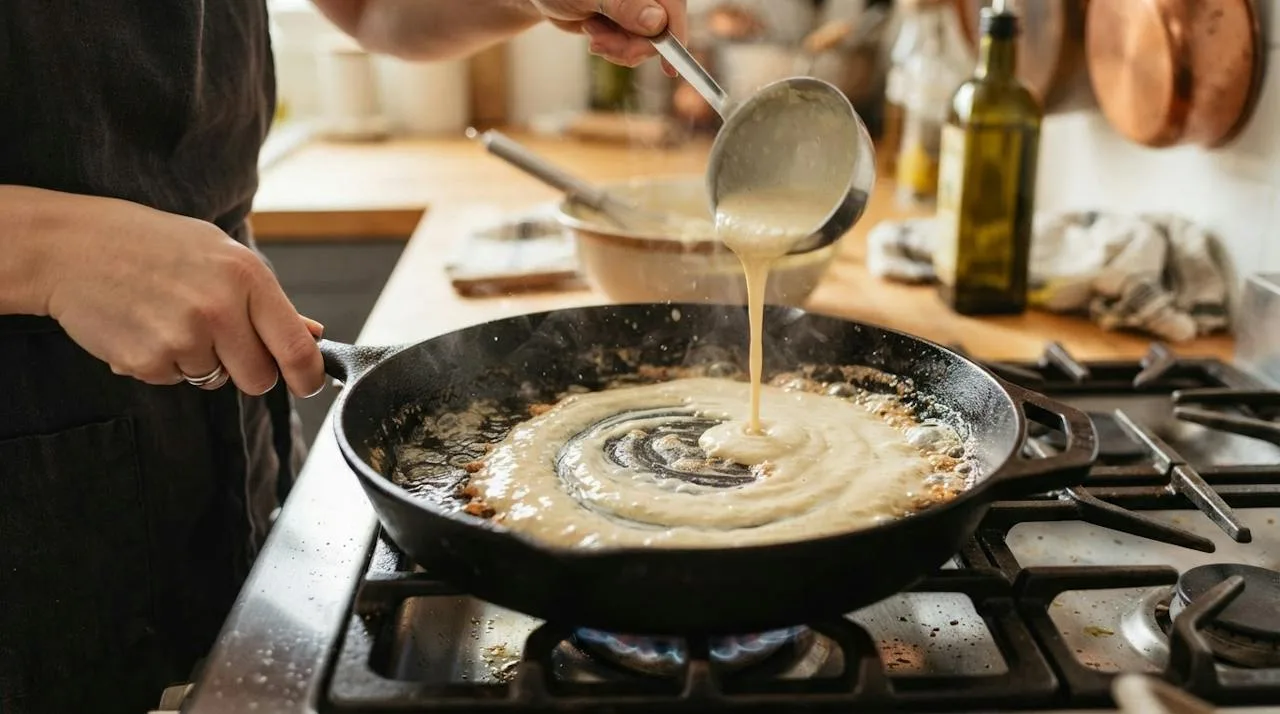
- Bake. Return the skillet to the upper-middle rack and bake for about 20 to 22 minutes, without moving the pan.
- Finish under the broiler. Switch to the broiler (grill) for about 2 to 3 minutes. Watch closely: the rosemary and thin edges darken quickly. You’re looking for a few attractive browned spots on top without drying out the middle. In round 1, without this step, the top stayed pale.
- Check for doneness. The farinata is done when the edges are deeply golden and crisp, the top has a few darker toasted spots, and the thin center is set but not completely dry, with no wet or liquid-looking batter in the middle.
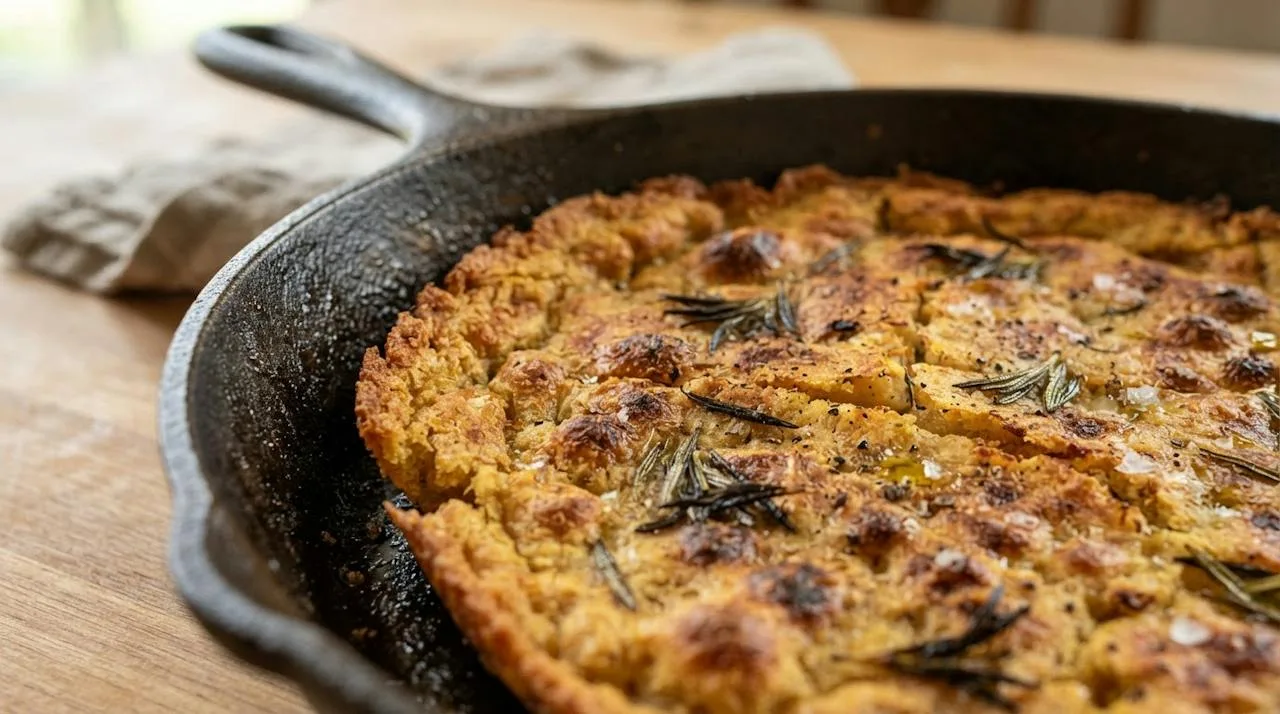
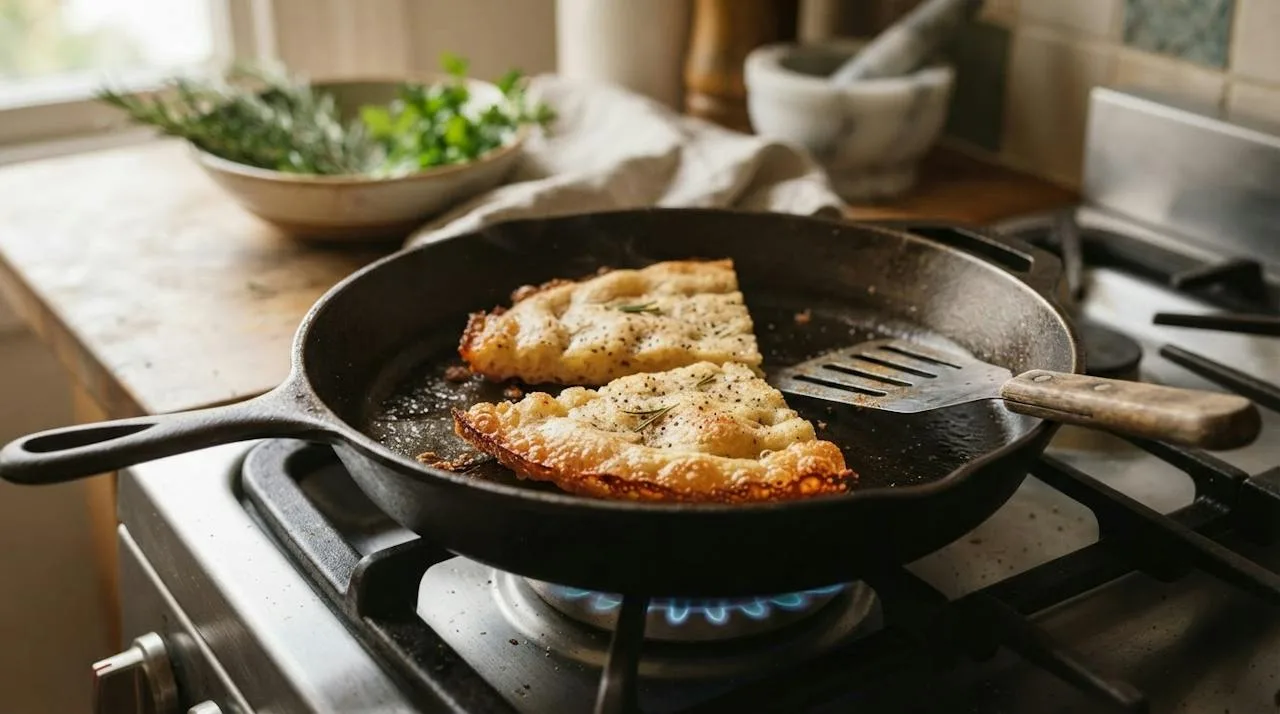
- Rest, loosen and release. Let the farinata sit in the skillet for 2 to 3 minutes. The hot cast iron keeps crisping the bottom slightly. Then loosen the edges with a thin spatula. With the extra oil in the pan, mine released in one piece, with a golden-brown bottom.
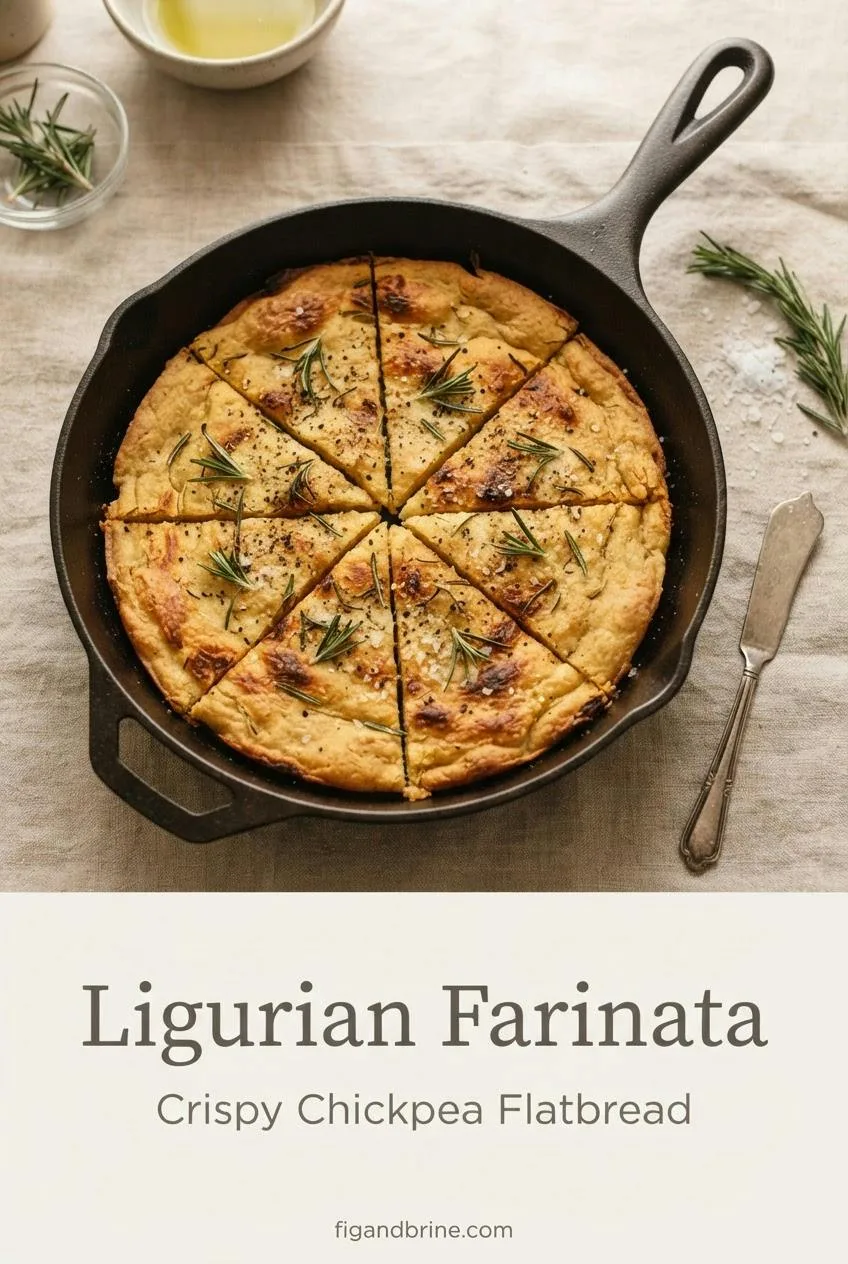
- Cut and serve. Slide it onto a board, cut it into wedges, and finish with a drizzle of extra virgin olive oil, flaky salt, black pepper and a little fresh rosemary. Serve right away.
Tested Substitutions
| Original | Tested change | Result |
|---|---|---|
| 15 g oil in the pan | 20 g oil in the pan | Better bottom crust and easier release. |
| Dried rosemary only | Dried plus fresh rosemary | Dried alone was subtle; fresh gave a much stronger aroma. |
| 2-hour rest | 4-hour rest | Slightly smoother batter and better overall texture. |
| Conventional oven (fan off) | Fan oven | Browned the surface more effectively. |
| Cast-iron skillet | Carbon steel pan or round metal cake tin (untested) | I haven’t tried this yet. Let me know in the comments. |
| 26 cm pan | 30 cm pan (untested) | I haven’t tried this yet; a larger pan would make a thinner layer and change the timing. |
| 4-hour rest | Overnight rest (untested) | I haven’t tried this yet. Let me know in the comments. |
| Rosemary | Thyme, garlic, cumin or chili flakes (untested) | I haven’t tried these yet. Let me know in the comments. |
| Plain | With caramelized onions (untested) | I haven’t tried this yet. Let me know in the comments. |
| Chickpea flour | Gluten-free flour blends (untested) | I haven’t tried this yet. Let me know in the comments. |
| 360 g water | Less water (untested) | I haven’t tried this yet. Let me know in the comments. |
| Oil in the pan | Oil-free version (untested) | I haven’t tried this yet. Let me know in the comments. |
Why This Recipe Can Fail (And How to Fix It)
Common Problems
- Gummy center: The batter was too deep in the middle. In round 1, uneven spreading left the center slightly thicker, and it stayed soft while the edges crisped. Check that the pan is level and swirl the batter immediately into an even 5 to 6 mm layer.
- Pale top: Not enough heat from above. A conventional oven without the broiler left my first farinata pale. Bake on the upper-middle rack with the fan on, then finish under the broiler for 2 to 3 minutes. Browning depends on heat and moisture, as University of Illinois Extension explains about the Maillard reaction.
- Weak bottom crust or sticking: The pan wasn’t hot or oily enough. Preheat the oiled cast iron for about 15 minutes, and use 20 g of oil rather than 15 g; that improved the crust and made releasing easier.
- Bland flavor: Too little salt and a subtle herb. Increasing salt from 4 g to 5 g and adding fresh rosemary to the dried made a clear difference. Finish with flaky salt and good olive oil at the table.
- Burnt rosemary or edges: The broiler went on too long. Stay at the oven and pull the pan after 2 to 3 minutes, as soon as you see a few browned spots.
Serving Suggestions
Farinata is best hot or very warm, especially in the first 10 to 15 minutes. Cut it into wedges and finish with extra virgin olive oil, flaky salt, black pepper and a little fresh rosemary.
Because it’s savory and earthy, it’s lovely with something acidic, like a tomato salad or a lemony green salad, and alongside olives. It also works well with roasted vegetables; my vegetable roasting times and temperatures chart has tested times for 14 of them. For a Coastal Italian spread, serve it next to my Sicilian caponata.
Storage, Reheating and Make-Ahead
Room temperature: Farinata is best eaten fresh. After several hours at room temperature, mine was still edible but had lost most of its crispness, and the edges became softer and slightly chewy. For food safety, the USDA’s leftovers guidance recommends refrigerating leftovers within 2 hours.
Refrigerator: After an overnight in the fridge, the farinata became considerably firmer and less crisp. The chickpea flavor was still good, but the texture wasn’t comparable to freshly baked.
Reheating: The oven was clearly better than the microwave. Reheat a refrigerated wedge in a 200°C oven for about 7 to 10 minutes; it regains some crispness around the edges. A dry skillet over medium heat for about 2 to 3 minutes per side also works and gives the bottom a nice crust again, though the center stays slightly softer than when fresh. Skip the microwave if crispness matters.
Make-ahead: Make the batter up to 4 hours ahead, then bake right before serving.
Mediterranean Secret: The real secret to farinata isn’t the batter; it’s the pan. A very hot, well-oiled cast-iron skillet and a thin layer of batter made a bigger difference in my testing than any change to the ingredients. The broiler adds color, but it can’t fix a batter that’s too deep or a pan that isn’t hot enough.
Continue Cooking
- How to cook dried chickpeas: creamy, even and full of flavor
- Mediterranean herbs and spices: the complete pantry guide
- Mediterranean diet shopping list: what to buy and skip
With a hot skillet and a stack of golden wedges, Nevaeh Hall
Print
Ligurian Farinata (Chickpea Flour Flatbread)
- Total Time: 270 minutes
- Yield: 2 servings
- Diet: Vegan
Description
A crisp, golden flatbread made from chickpea flour, water, olive oil, and salt, perfect as a savory snack or side dish.
Ingredients
- 120 g chickpea flour
- 360 g water
- 25 g olive oil (for the batter)
- 20 g olive oil (for the pan)
- 5 g fine salt
- ½ teaspoon freshly ground black pepper
- 1 teaspoon dried rosemary
- 1 tablespoon finely chopped fresh rosemary
Instructions
- Start the batter. Put the chickpea flour in a bowl and slowly whisk in about half the water until the mixture is smooth, with no lumps.
- Add the remaining water, 25 g of olive oil, and the salt. The batter will be thin.
- Rest for 4 hours. Cover the bowl and leave the batter to rest at room temperature.
- Whisk again and skim the foam off the surface. Stir in the black pepper and the dried and fresh rosemary.
- Preheat the oiled pan. Set the oven to 220°C and place the cast-iron skillet with 20 g olive oil inside to preheat for about 15 minutes.
- Pour in the batter and swirl to cover the bottom evenly.
- Bake for about 20 to 22 minutes on the upper-middle rack.
- Finish under the broiler for 2 to 3 minutes until brown spots appear.
- Check for doneness by ensuring the edges are golden and crisp.
- Rest, loosen, and release from the pan, then cut into wedges and serve with extra virgin olive oil, flaky salt, black pepper, and fresh rosemary.
Notes
Serve warm or shortly after baking. Best enjoyed fresh, but can be reheated in the oven for crispness.
- Prep Time: 7 minutes
- Cook Time: 30 minutes
- Category: Snack
- Method: Baking
- Cuisine: Italian


