

How to Cook Dried Chickpeas (Creamy, Even, and Full of Flavor)
The first time I cooked chickpeas from dried, I expected them to taste just like the ones from a can. Instead, they were nuttier, creamier, and so much more satisfying that I’ve barely bought a can since. A single 250 g bag of dried chickpeas gave me about 625 g of cooked chickpeas, enough for hummus, a grain bowl, and a salad in the same week.
Chickpeas are one of the great staples of Mediterranean cooking, and they’re good for you, too. Harvard’s Nutrition Source describes legumes as an inexpensive source of protein, fiber, vitamins, and minerals such as folate and iron. That fiber matters: Harvard also notes that most Americans get only about 15 grams of fiber a day, well below the 25 to 35 grams adults need. And the Food and Agriculture Organization of the United Nations points out that pulses like chickpeas fix nitrogen in the soil and keep well on the shelf, which makes them as good for the planet as they are for your pantry.
The secret to great home-cooked chickpeas isn’t complicated: a full overnight soak, salt in the cooking water from the very beginning, and a gentle simmer rather than a hard boil. Those three changes turned my first uneven, bland batch into chickpeas that are creamy all the way through. Once you’ve made them, they’re ready to go into everything from hummus to my favorite Mediterranean grain bowls.
What I Learned From Testing This Recipe
Recipe Testing Note Tested in two full stovetop batches, plus one pressure cooker batch. Last updated: October 2026. Equipment: heavy 3-liter stainless steel pot on the stovetop; electric pressure cooker for the pressure test. Key variables tested: 6-hour vs. 12-hour soak, salting at the start vs. at the end, gentle simmer vs. hard boil, stovetop vs. pressure cooker.
My first batch was a lesson in impatience. I started late, so I soaked 250 g of dried chickpeas for only 6 hours, with ½ teaspoon of baking soda in the soak water and no salt. I cooked them in a heavy 3-liter pot with plenty of water and a bay leaf.
After about 1 hour and 40 minutes at a boil, some chickpeas were soft, but quite a few were still firm in the center, and the skins were starting to split on others. The water foamed heavily in the first 10 to 15 minutes. And because I only added salt at the end, the chickpeas tasted flat no matter how much I seasoned them afterward.
What I changed after testing: I soaked the chickpeas for 12 hours overnight instead of 6, added 1 teaspoon of salt to the cooking water from the start, used a little more water so they stayed covered, added half a small onion with the bay leaf, and kept the pot at a gentle simmer instead of a hard boil. The second batch was creamy at about 1 hour and 20 minutes (20 minutes faster), with no hard centers, fewer split skins, and much better flavor.
Ingredients
Makes about 625 g (roughly 4 cups) cooked chickpeas
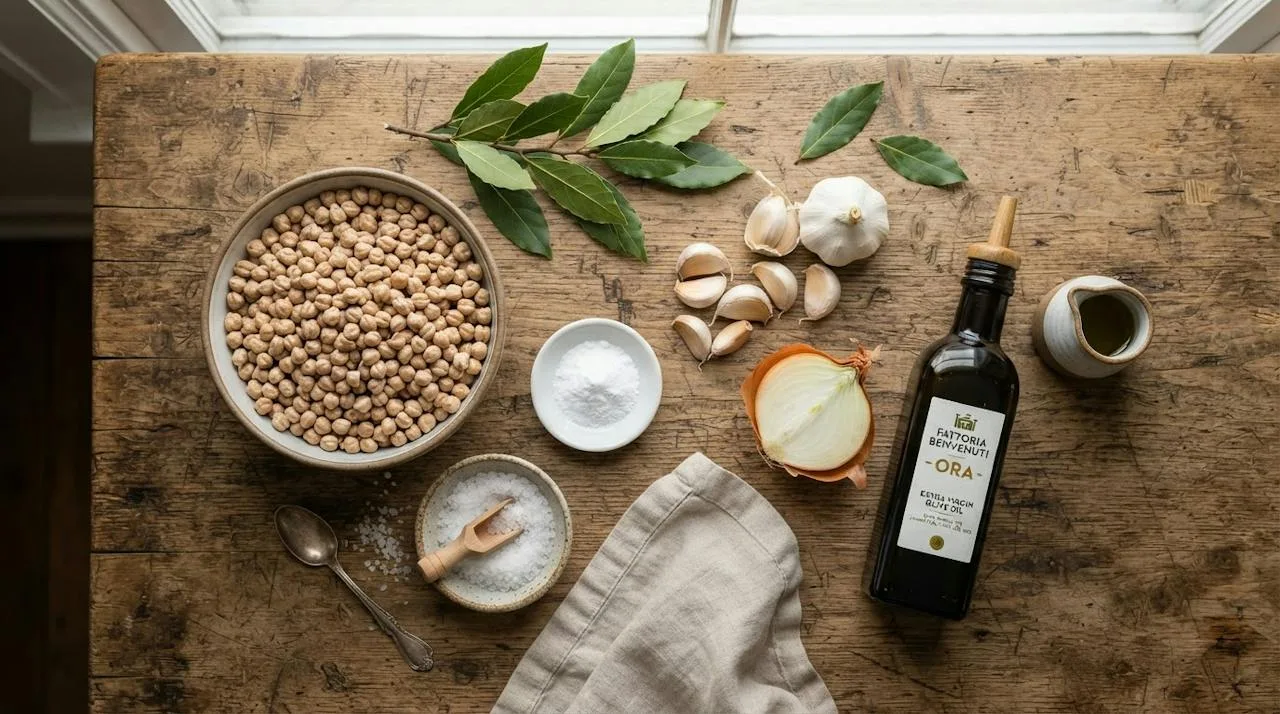
- 250 g (about 1¼ cups) dried chickpeas
- ½ teaspoon baking soda, for the soaking water
- 1 teaspoon salt, for the cooking water
- 1 bay leaf
- ½ small onion, peeled
- Water, for soaking and cooking (plenty of both)
Note on yield: 250 g dried chickpeas gave me roughly 600 to 650 g cooked, depending on how much water they absorbed. One batch weighed in at about 625 g drained.
Before You Start: What to Watch For
- Plan for an overnight soak. My 6-hour soak left many chickpeas firm in the middle even after 1 hour and 40 minutes of cooking. A full 12-hour soak made the whole batch cook evenly.
- Salt goes in at the start. Salting only at the end left my first batch bland. One teaspoon in the cooking water from the beginning seasoned the chickpeas all the way through.
- Use a big enough pot and plenty of water. The chickpeas roughly double in size as they soak and keep absorbing water as they cook. Any chickpeas left above the waterline cook unevenly.
- Keep it at a gentle simmer. A hard boil tumbles the chickpeas against each other and splits their skins. You want small, lazy bubbles, not a rolling boil.
- Expect foam early on. The water foams a lot in the first 10 to 15 minutes. Skim it off with a spoon; it settles down after that.
- Think about how you’ll use them. Chickpeas and other legumes are a foundation of the Mediterranean way of eating, as my Mediterranean diet guide for beginners explains, so I always cook a full batch and plan two or three meals around it.
Method
- Rinse and sort the chickpeas. Tip 250 g of dried chickpeas into a bowl, rinse them under cold water, and pick out any shriveled chickpeas or tiny stones. The water should run clear after a couple of rinses.
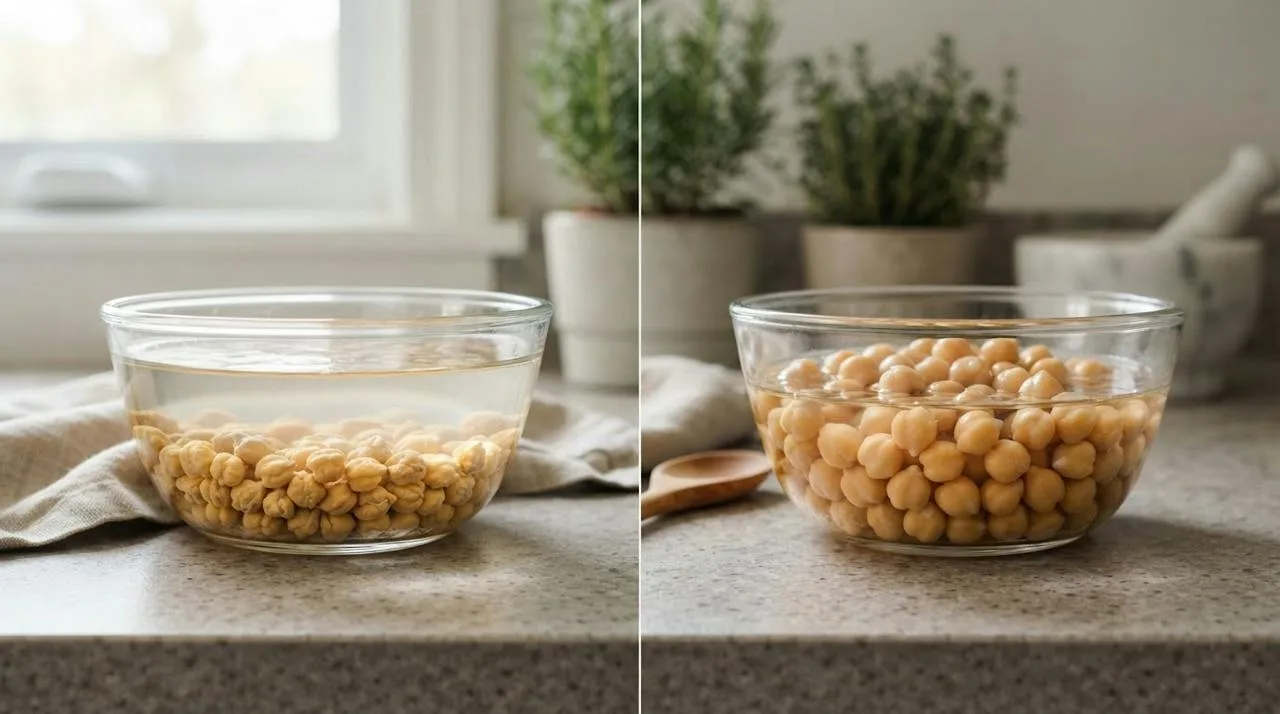
- Soak overnight with baking soda. Cover the chickpeas with plenty of cold water, at least three times their volume, and stir in ½ teaspoon of baking soda. Leave them for about 12 hours. They’re ready when they’ve roughly doubled in size, look plump and smooth, and the water level has dropped noticeably.
- Drain and rinse well. Pour the chickpeas into a colander and rinse them thoroughly to wash away the baking soda soaking water. In testing, a good rinse here kept any soapy taste out of the finished chickpeas.
- Add to the pot with fresh water and aromatics. Put the chickpeas in a heavy pot with enough fresh water to cover them by several inches. Add 1 teaspoon of salt, 1 bay leaf, and ½ small onion. I used a 3-liter pot and a little more water in round 2 than in round 1, so the chickpeas stayed covered for the whole cook.
- Bring to a boil, then skim. Bring the pot to a boil over medium-high heat. For the first 10 to 15 minutes, foam will rise to the surface. Skim it off with a large spoon until it mostly stops forming.
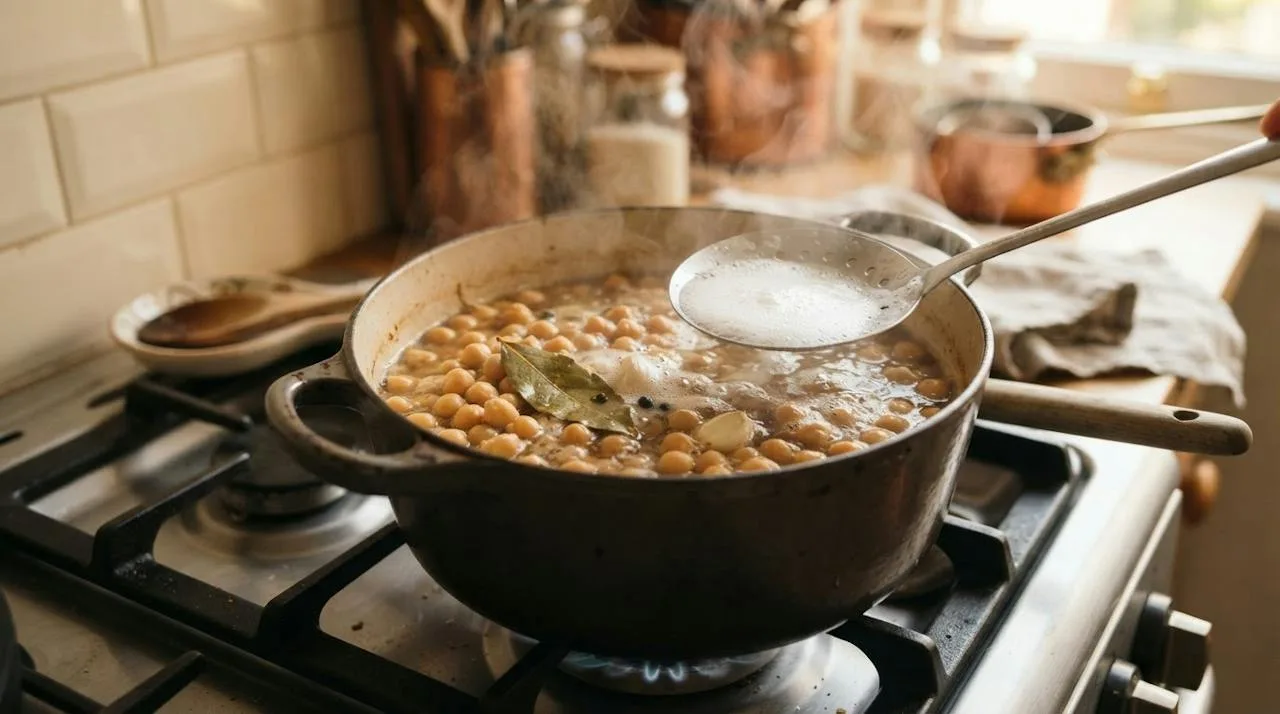
- Lower to a gentle simmer. Turn the heat down until the water is barely bubbling, with small bubbles breaking the surface. This is the step that fixed my split skins. Partly cover the pot.
- Keep the chickpeas covered with water. Check every 20 to 30 minutes and add hot water if the level drops close to the chickpeas. Chickpeas sitting above the water will cook more slowly than the rest.
- Start testing at 1 hour. Lift out a chickpea and squeeze it firmly between your thumb and forefinger. If you feel a hard, chalky center, keep simmering and test again every 10 minutes.
- Taste from the middle of the pot. Don’t just test the soft chickpeas floating near the top. In my first batch, the top ones felt done while chickpeas from the middle were still firm. Scoop from the center and taste several.
- Cook until creamy all the way through. My second batch was ready at about 1 hour and 20 minutes. They’re done when each chickpea crushes easily into a smooth paste between your fingers, with no hard center, and still holds its shape in the pot.
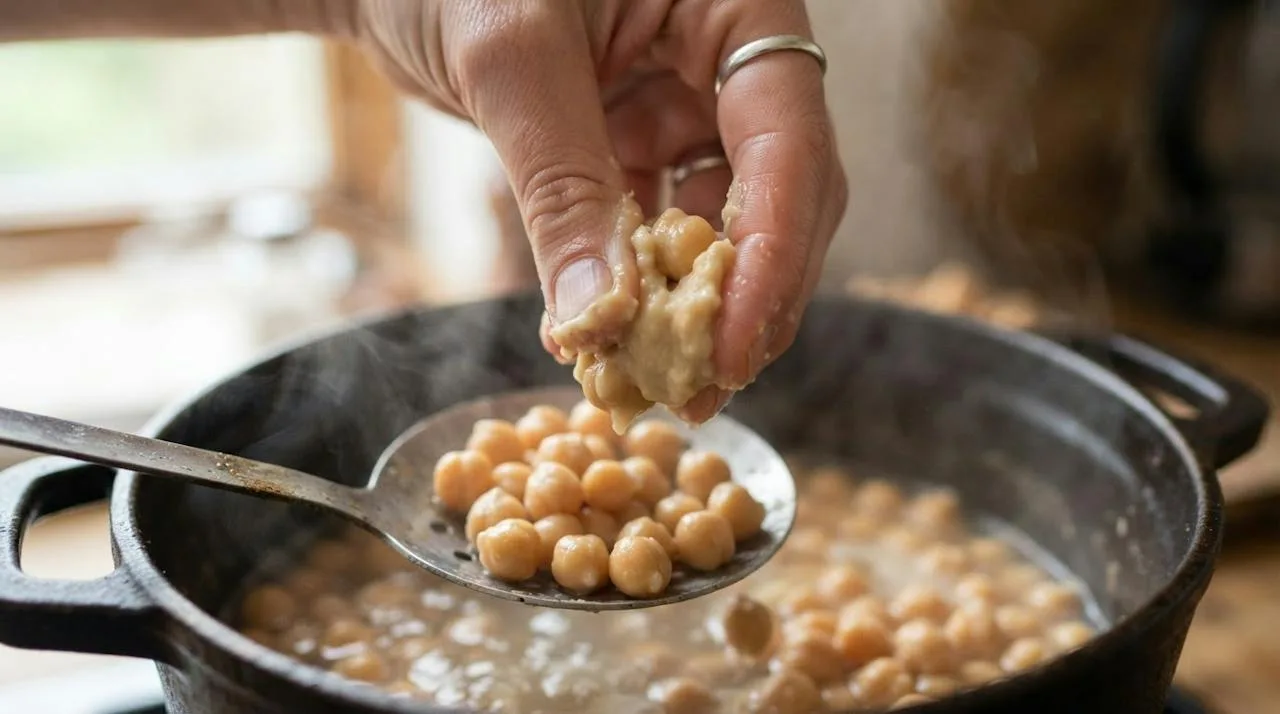
- For hummus, cook a little longer. If you’re making hummus, simmer about 10 minutes more, until the chickpeas are very soft and almost falling apart. They’ll blend into a much smoother purée.
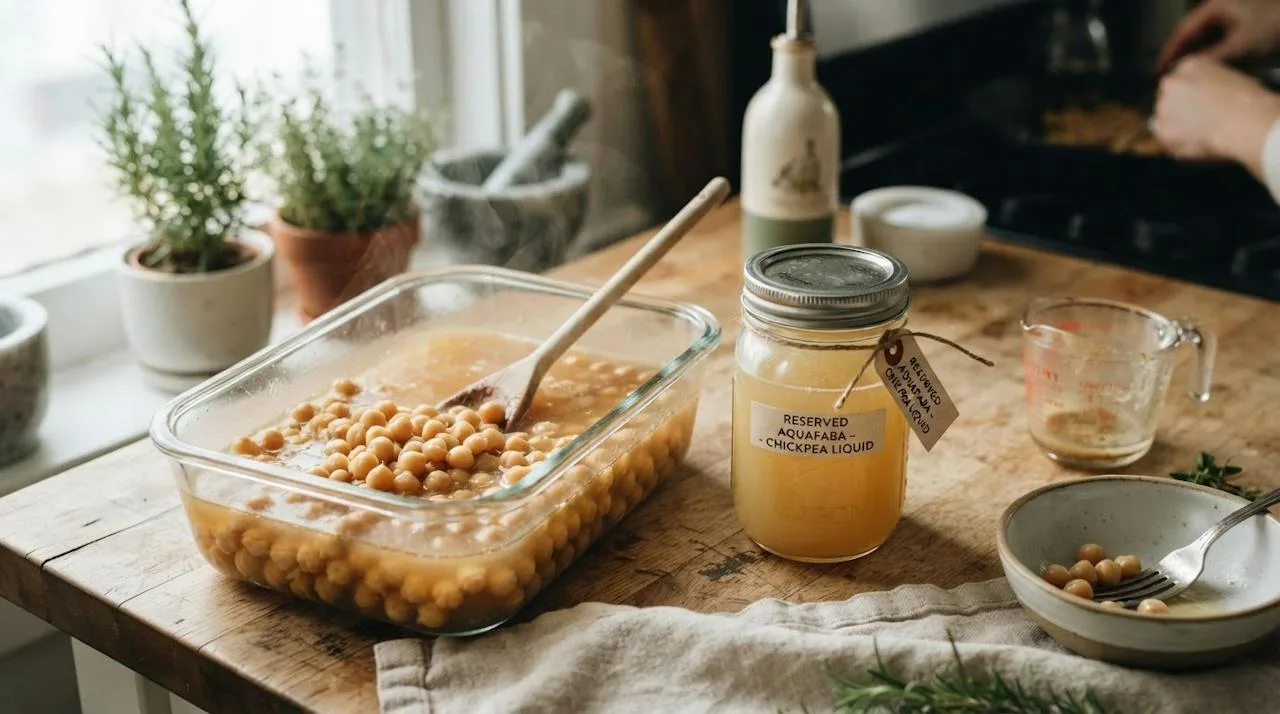
- Cool in the cooking liquid. Turn off the heat, remove the bay leaf and onion, and let the chickpeas cool in their liquid. Then drain, saving some of the liquid for storage.
Pressure Cooker Method
I also tested a pressure cooker batch with the same 250 g of chickpeas, soaked overnight. I cooked them at high pressure for 35 minutes, then let the pressure release naturally for 15 minutes. The result was very soft and creamy chickpeas, excellent for hummus. Some skins split, which didn’t matter for blended dishes. For salads, where I wanted whole, intact chickpeas, I preferred the stovetop batch.
Tested Substitutions
| Original method or ingredient | Tested alternative | Result |
|---|---|---|
| 12-hour overnight soak | 6-hour soak | Tested. Some chickpeas stayed firm in the center even after 1 hour 40 minutes of cooking. |
| Baking soda in the soak | No baking soda | Tested. Worked, but the skins stayed a little firmer. Baking soda gave softer skins, especially useful for hummus. |
| Salt from the start | Salt at the end | Tested. Chickpeas tasted noticeably blander. |
| Stovetop | Pressure cooker (35 min high pressure + 15 min natural release) | Tested. Much faster and very soft. Best for hummus; some skins split. |
| Bay leaf and onion | Bay leaf, onion and garlic | Tested. More aromatic, but I preferred plain bay and onion because the chickpeas were more versatile across recipes. |
| Home-cooked chickpeas | Canned chickpeas | Tested. Convenient, but softer and wetter in texture. |
| Bay leaf and onion | Carrot (untested) | I haven’t tried this yet. Let me know in the comments if you do. |
Why This Recipe Can Fail (And How to Fix It)
Common Problems
- Hard centers: In my first batch, a short 6-hour soak left many chickpeas firm in the middle. Soak for a full 12 hours, keep the chickpeas covered with water while they cook, and test chickpeas from the middle of the pot, not just the top.
- Split skins and broken chickpeas: A hard boil knocks the chickpeas around and splits them. Once the foam has settled, lower the heat to a gentle simmer with small bubbles. If you’re making hummus, split skins don’t matter.
- Bland chickpeas: Salting only at the end left my first batch flat. Add 1 teaspoon of salt to the cooking water at the start, and cook with a bay leaf and half an onion for a gentle background flavor.
- Heavy foam: Foam is normal in the first 10 to 15 minutes. Skim it off as it rises, and rinse the soaked chickpeas well before cooking.
- Uneven texture: Chickpeas left above the waterline cook more slowly. Use a large enough pot, add a little more water than you think you need, and top up with hot water whenever the level drops.
- Mushy chickpeas for salads: Pressure cooking and long simmering make very soft chickpeas, which are perfect for hummus but too soft for salads. For salads, use the stovetop method and stop as soon as they crush easily with no hard center.
Serving Suggestions
Here’s where my test batches went:
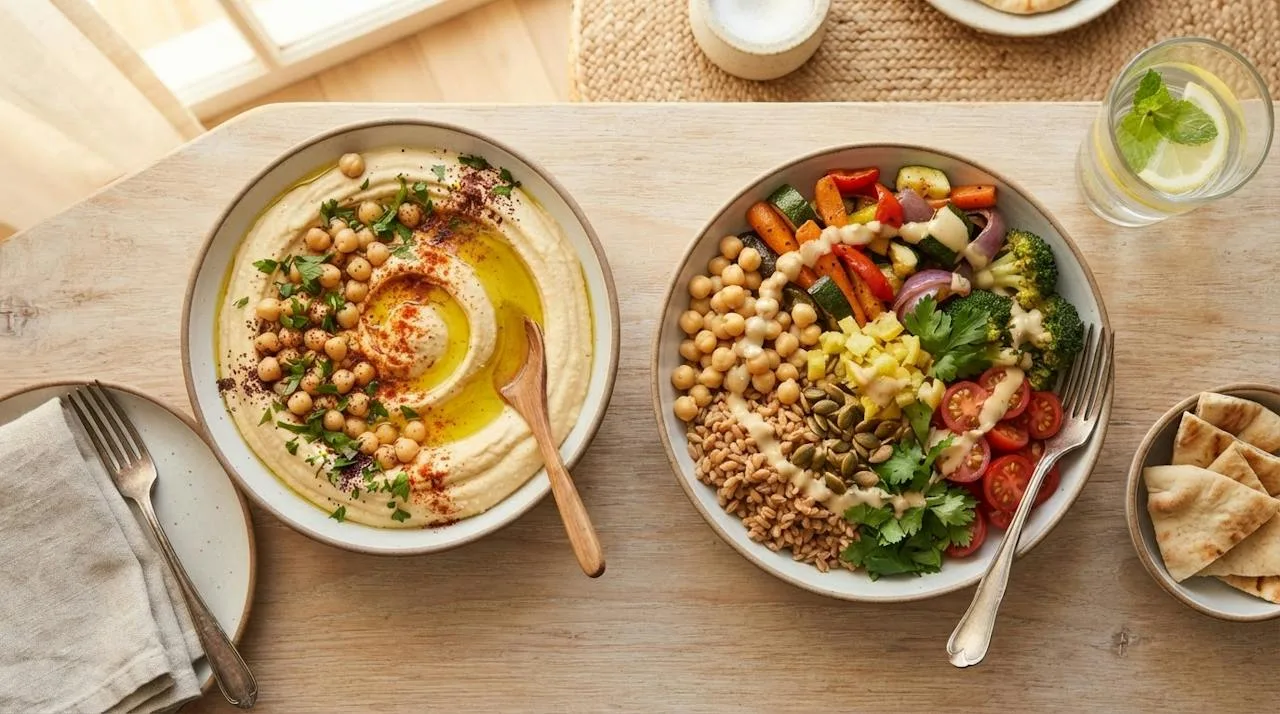
- Hummus: The extra-soft pressure cooker chickpeas blended into the smoothest hummus.
- Grain bowls: With roasted vegetables and tahini dressing. Pair them with a tray from my roasted Mediterranean vegetables guide.
- Crispy roasted chickpeas: Dry them very well, then toss with olive oil and spices before roasting.
- Chickpea salad: Chickpeas with parsley, cucumber, lemon, and olive oil. My guide to cooking with extra virgin olive oil will help you pick a good, peppery bottle for dressing it. For an extra salty-citrus lift, try a little finely chopped rind from a jar of homemade preserved lemons.
- Tomato chickpea stew: A simple, comforting weeknight dinner.
Storage and Make-Ahead
Refrigerator: Drain and cool the chickpeas, then store them in an airtight container in the refrigerator with a little of their cooking liquid so they don’t dry out. I kept mine for up to 4 days. That fits the USDA’s leftovers and food safety guidance, which recommends refrigerating leftovers within 2 hours and using them within 3 to 4 days.
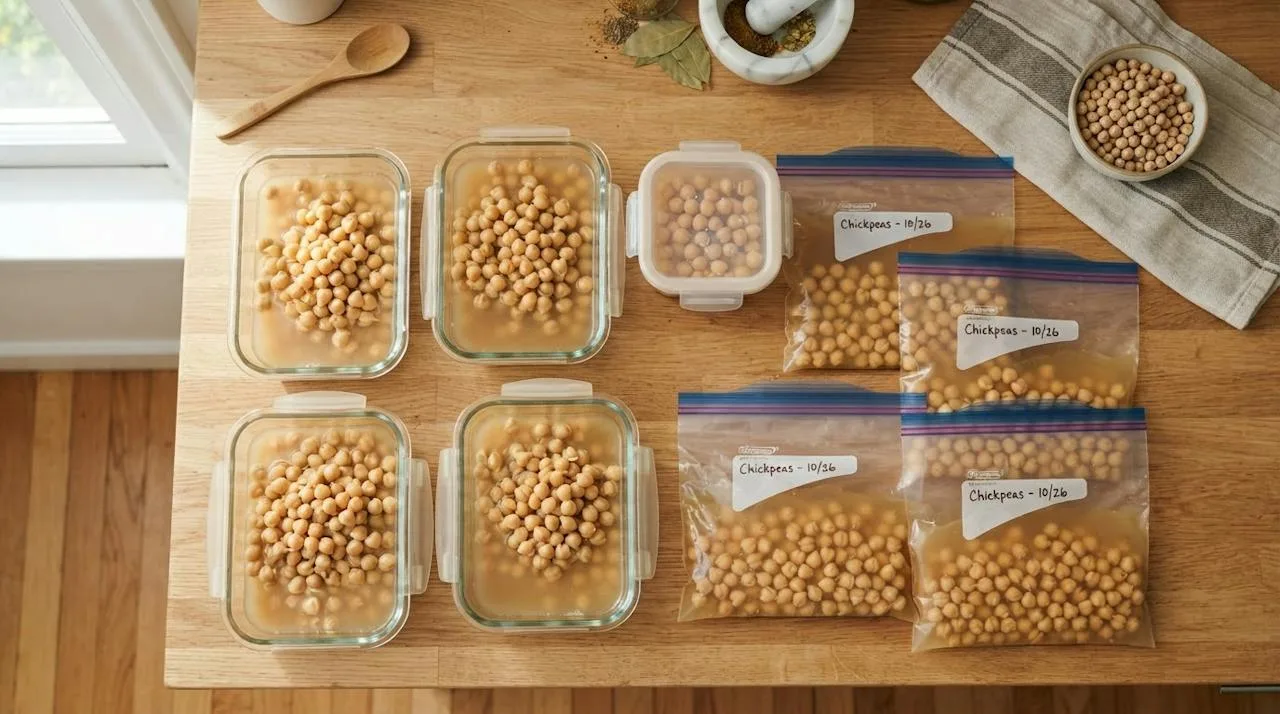
Freezer: I froze cooked chickpeas in portions of about 250 g, in containers and bags with a little cooking liquid.
Texture after freezing: After thawing and reheating, they were slightly softer than freshly cooked but still good. They worked best in stews, hummus, and grain bowls. Roasting thawed chickpeas worked fine too, as long as I dried them very well first.
Make-ahead: Start soaking the night before, cook a full batch in the morning or evening, and you’ll have ready-to-use chickpeas for most of the week.
Mediterranean Secret: Save some of the cooking liquid. Storing chickpeas in it keeps them plump, and a splash stirred into hummus or a tahini sauce adds body and flavor.
Continue Cooking
- Mediterranean grain bowls: the complete guide to grains, legumes and dressings
- How to brine olives, preserve lemons and pickle vegetables
- Roasting vegetables the Mediterranean way
With a pot simmering on the stove and figs on the counter, Nevaeh Hall
Print
Creamy Homemade Chickpeas
- Total Time: 90 minutes
- Yield: 4 servings
- Diet: Vegan
Description
Learn how to cook creamy homemade chickpeas from dried for delicious dishes like hummus, grain bowls, and salads.
Ingredients
- 250 g (about 1¼ cups) dried chickpeas
- ½ teaspoon baking soda, for soaking
- 1 teaspoon salt, for cooking
- 1 bay leaf
- ½ small onion, peeled
- Water, for soaking and cooking
Instructions
- Rinse and sort the chickpeas, picking out any shriveled ones.
- Soak overnight with baking soda, covering them with plenty of cold water.
- Drain and rinse well to wash away the baking soda.
- Add chickpeas to a heavy pot with fresh water, salt, bay leaf, and onion.
- Bring to a boil, then skim off any foam for the first 10-15 minutes.
- Lower heat to a gentle simmer and keep covered with water.
- Start testing for doneness at 1 hour, and continue until creamy and soft.
- Cool in the cooking liquid, then drain.
Notes
Cool the chickpeas in their cooking liquid to retain moisture. Store in an airtight container with a splash of the cooking liquid.
- Prep Time: 10 minutes
- Cook Time: 80 minutes
- Category: Side Dish
- Method: Boiling
- Cuisine: Mediterranean


