

How to Roast and Peel Peppers (Oven, Broiler and Gas Flame, Tested)
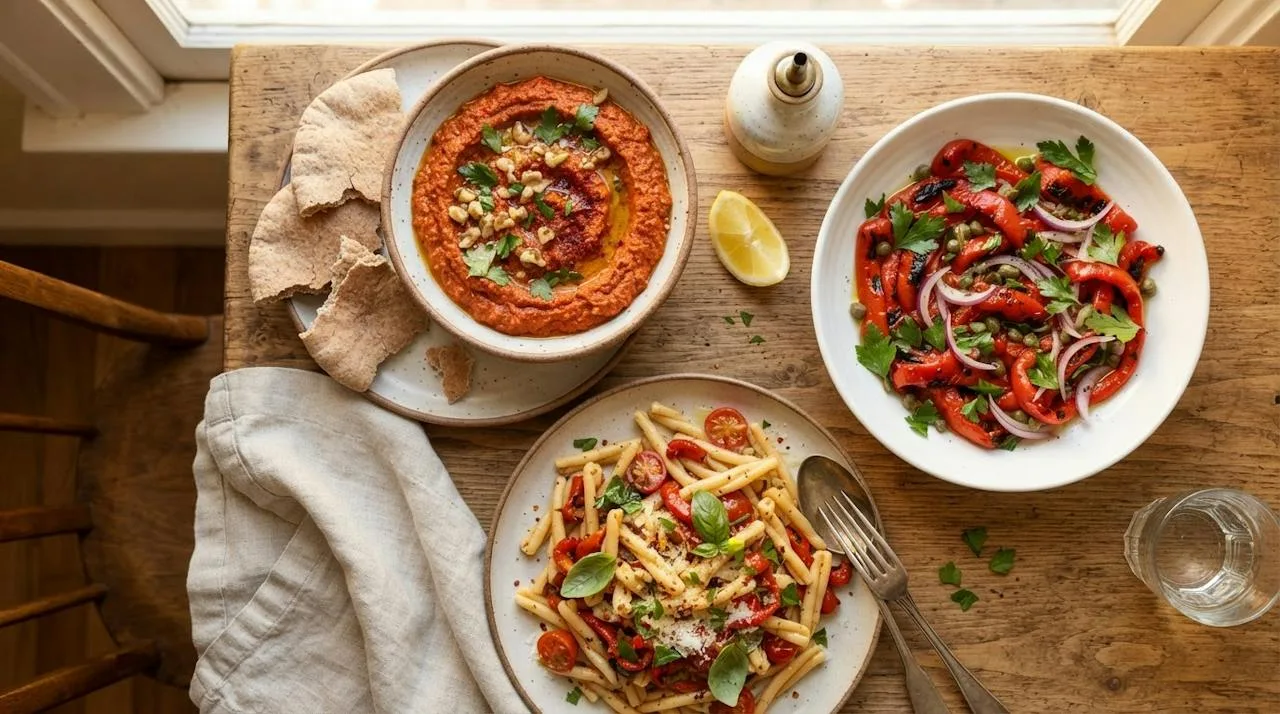
Roasted red peppers are one of the most useful things you can keep in a Mediterranean fridge. Silky, sweet and a little smoky, they go into dips, salads, pasta and grain bowls, and homemade ones taste far better than most jarred versions.
The tricky part isn’t the roasting. It’s getting the skin to slip off cleanly instead of tearing away in tiny stubborn pieces. So I roasted 1.2 kg of red bell peppers, plus a batch of Romano peppers, using three methods: the oven, the broiler and a direct gas flame. I timed each one, compared how easily they peeled, and noted what went wrong along the way.
The short version: the skin needs to look almost burned, the peppers need a covered rest, and the oven is the best everyday method. For the bigger picture on roasting, see my guide to roasting vegetables the Mediterranean way.
The Quick Answer
The Short Version: Roast whole red peppers at 230°C fan (about 445°F) on the upper-middle rack for 30 to 35 minutes, turning every 8 to 10 minutes, until the skin is heavily blistered and black in several places. Cover them in a bowl for 15 minutes, then peel the skin off with your fingers, starting at a large blister. Don’t rinse them; you’ll wash away the flavor.
My Testing Setup
Testing Note Peppers: 1.2 kg red bell peppers (about 5 to 6 large peppers), plus about 500 g Romano peppers for comparison. Methods tested: fan oven (two rounds), oven broiler, direct gas flame. I didn’t test an outdoor grill. Rest: covered bowl vs. uncovered. Last updated: October 2026.
Method Comparison
| Method | How | Time | Best for |
|---|---|---|---|
| Oven | Whole peppers, 230°C fan, upper-middle rack, turned every 8–10 min | 30–35 min | Everyday batches; best overall texture, easiest to manage |
| Broiler | Halved, seeded, skin-side up, 7–10 cm (about 3–4 inches) from the element | 8–12 min | Speed; fastest, darkest charring |
| Gas flame | Whole pepper directly over a medium-high flame, turned every 1–2 min | 8–12 min per pepper | Flavor; strongest smoky taste, but needs constant attention |
From 1.2 kg of raw red peppers, every method gave me roughly 650 to 750 g of roasted, peeled pepper. Yield depends heavily on the size and water content of the peppers.
My recommendation: The oven is the method I’d suggest for most home cooks. You can roast several peppers at once, the results are consistent, and it gave me the best balance of soft flesh, juicy texture, easy peeling and good roasted flavor. Use the gas flame when you want the smokiest flavor, and the broiler when you’re short on time.
Method 1: Oven-Roasted Peppers (Best Overall)
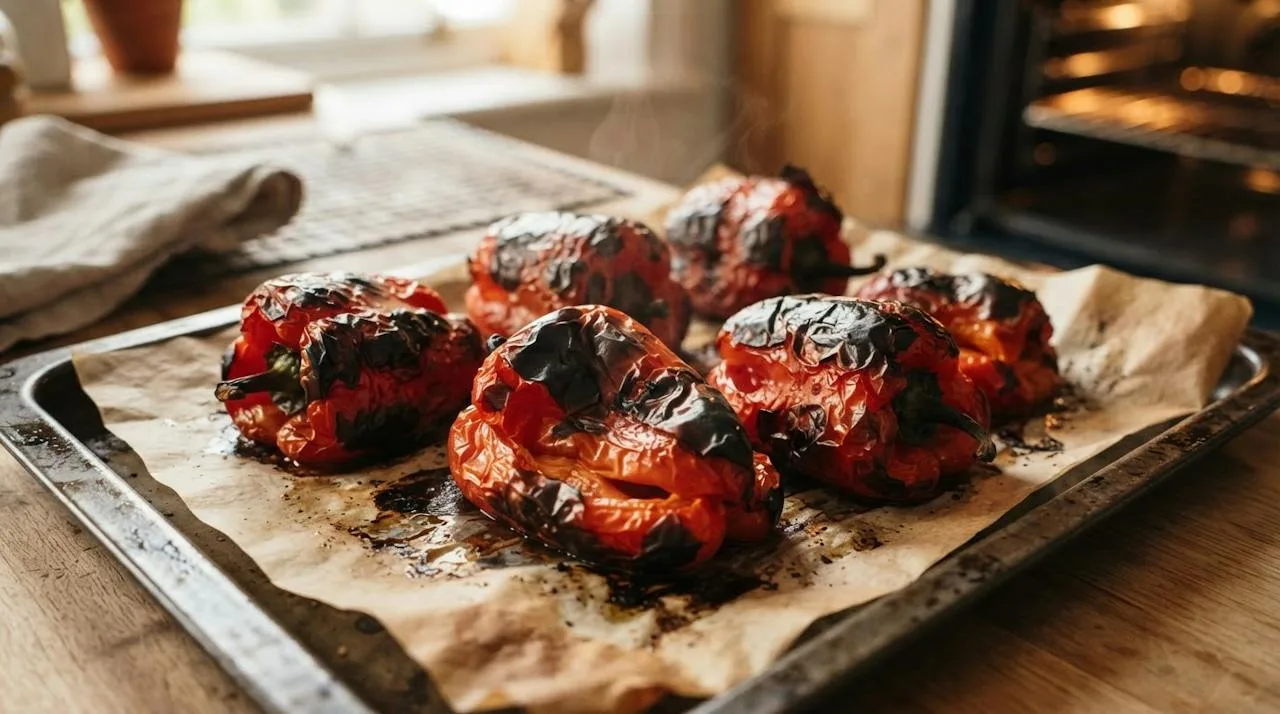
- Heat the oven to 230°C fan (about 445°F), with a rack in the upper-middle position.
- Arrange whole peppers on a baking tray lined with baking paper.
- Roast for 30 to 35 minutes, turning the peppers every 8 to 10 minutes so every side gets time facing the heat.
- Check for doneness. The skin should be heavily blistered and black in several places, and the flesh should have collapsed slightly.
What went wrong in round 1: I roasted at 220°C fan on the middle rack and turned the peppers every 10 to 12 minutes. They softened, but some areas stayed pale, the skin didn’t blister evenly, a few spots were still firm, and the skin stuck to the flesh where it hadn’t charred. They also had less roasted flavor than I wanted.
What I changed after testing: I raised the oven from 220°C to 230°C fan, moved the rack from the middle to the upper-middle position, turned the peppers every 8 to 10 minutes instead of every 10 to 12, and covered them for a 15-minute rest instead of leaving them uncovered. The second batch peeled much more easily and had a better smoky flavor.
Total time for the oven method is about 60 minutes: 10 minutes of prep, 35 minutes of roasting and 15 minutes of steaming and peeling.
Method 2: Broiler (Fastest)
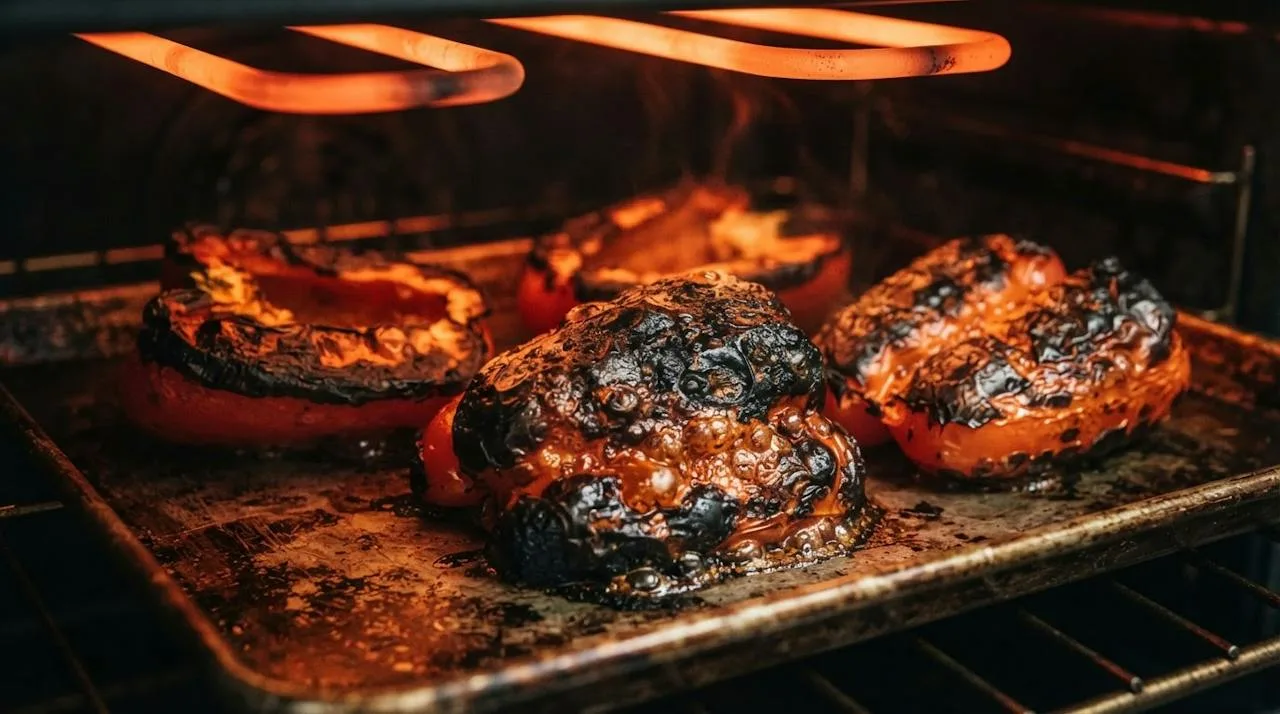
- Halve and seed the peppers, so the skin can face directly toward the heat.
- Place them skin-side up on a tray, about 7 to 10 cm (3 to 4 inches) from the broiler element.
- Broil on high for about 8 to 12 minutes, rotating the tray once halfway through. Don’t flip the pepper halves; the skin needs to stay facing the heat.
- Stop when the skin is deeply blackened.
This produced the fastest, darkest charring of all three methods, and the skin was very easy to peel once it was deeply blackened.
Method 3: Gas Flame (Most Smoky)
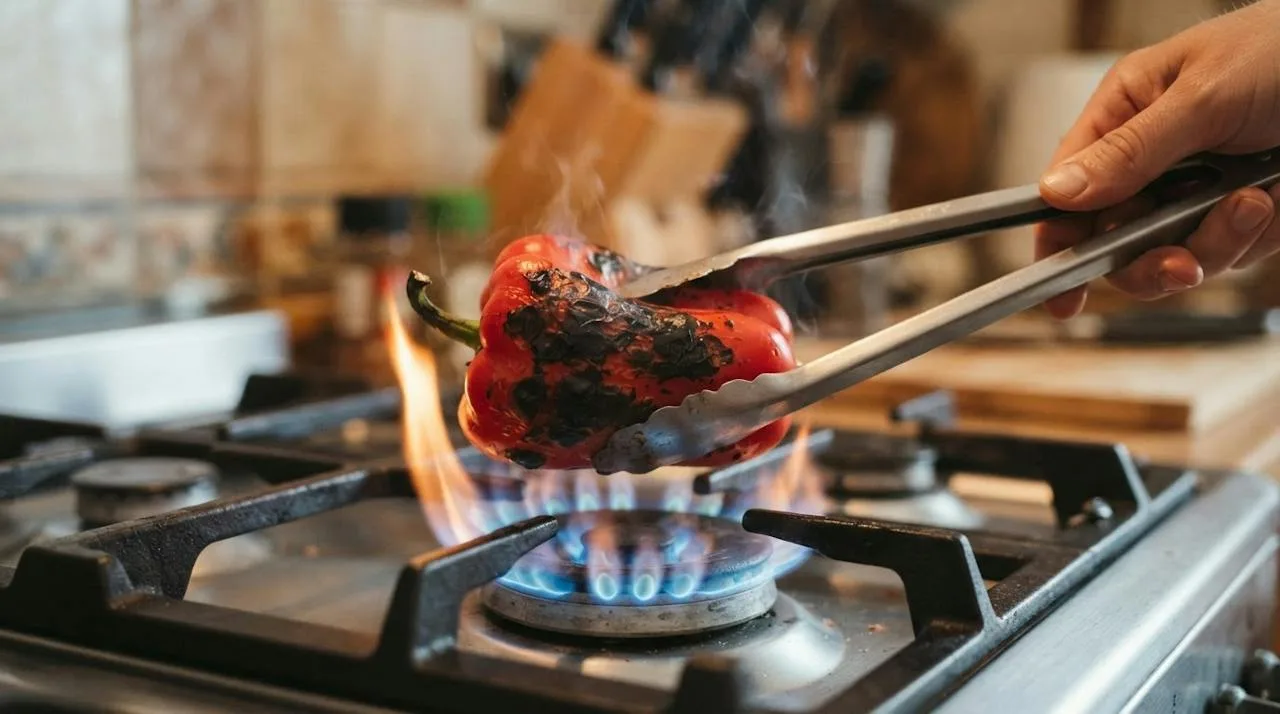
- Place one whole pepper directly over a gas burner on a medium-high flame. (I used the flame itself, not a dry pan.)
- Turn it every 1 to 2 minutes with long metal tongs, for about 8 to 12 minutes per pepper.
- Stop when the skin is very black in patches and the flesh has softened.
The skin blackens very quickly over a flame, and the flavor was the most smoky and slightly sweeter of all the methods. It was usually the easiest to peel, though occasionally small pieces of charred skin stuck to the flesh. The downside is that it’s messy and needs your full attention, and doing several peppers one at a time takes longer overall. Stay at the stove the whole time: the U.S. Fire Administration advises you to “stand by your pan” and turn off the burner if you leave the kitchen.
Romano Peppers vs. Bell Peppers
I also roasted about 500 g of whole Romano peppers. Because they’re thinner, they cooked faster, and the flesh was softer and slightly sweeter than the bell peppers. Check them earlier than bell peppers if you use them.
How Black Is Black Enough?
This was the most important lesson from testing: the skin needs to look quite black and blistered, not just lightly browned.
- Lightly browned skin sticks and comes away in small pieces.
- Patches of completely black skin made peeling much easier in the oven.
- The goal is charred skin, not charred flesh. The skin can look almost burned while the flesh underneath stays soft and juicy. Avoid burning through to the flesh itself.
That deep blistering is also where the roasted flavor comes from. Browning reactions depend on heat and time, as University of Illinois Extension explains about the Maillard reaction, which is why the hotter round 2 tasted better.
The 15-Minute Covered Rest
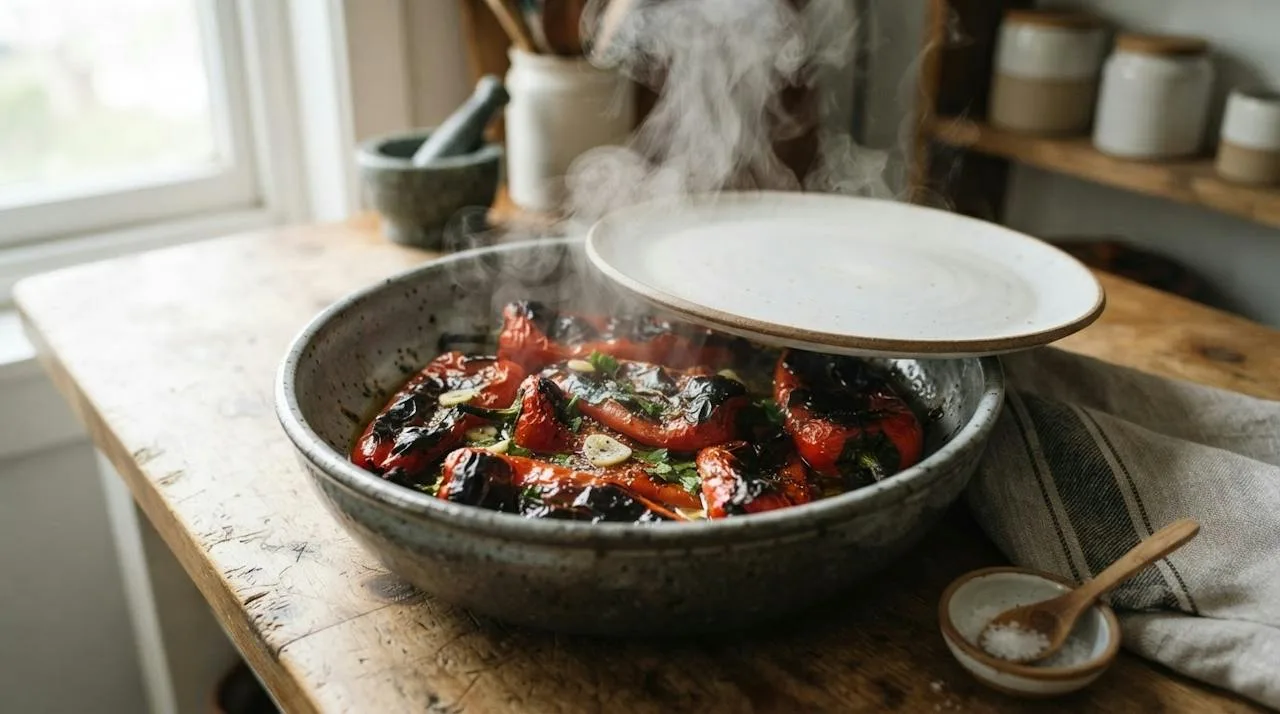
As soon as the peppers come off the heat, put them in a large bowl and cover it tightly with a plate. Leave them for about 15 minutes. I preferred this to putting them in a plastic bag.
In my testing, peppers that rested uncovered had noticeably harder-to-remove skins. After 15 minutes covered:
- the skin loosened considerably
- the peppers were cool enough to handle
- fewer tiny pieces of skin were left behind
- the flesh stayed moist
Don’t leave them covered for too long, though, or they can become very wet.
How to Peel and Seed Roasted Peppers
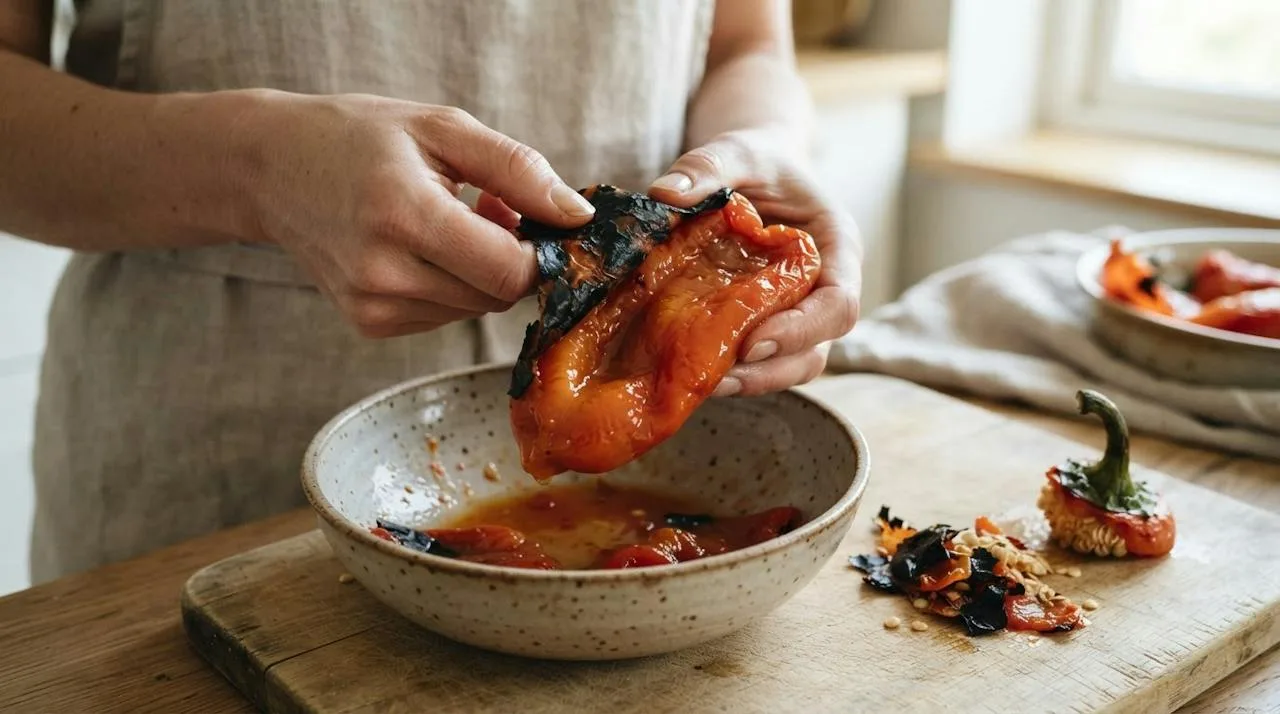
- Start at a large blister and pull the skin away with your fingers. After the covered rest, it should come off in large pieces.
- Remove stubborn bits with your fingertips or a small knife.
- Open the pepper over a bowl to catch the juices, which are full of flavor.
- Remove the stem, seeds and white ribs. Don’t worry about every last seed; a few won’t affect your recipe, but removing most of them gives a cleaner pepper.
Don’t rinse them. It’s tempting, because running water removes black bits of skin quickly, but it also washes away the roasted juices and smoky flavor. I didn’t rinse mine.
Troubleshooting
- Skin sticks to the flesh: The skin wasn’t charred enough, or the peppers didn’t rest covered. Roast hotter and longer, until black in several places, and cover them for 15 minutes before peeling.
- Uneven charring with pale patches: The peppers weren’t turned often enough, or the oven wasn’t hot enough. Use 230°C fan, the upper-middle rack, and turn them every 8 to 10 minutes.
- Peppers still firm in spots: Same causes as uneven charring. Keep roasting until the flesh has collapsed slightly.
- Peppers turn watery: They were left covered too long. About 15 minutes is enough.
- Bitter, burnt taste: The flesh itself burned. Aim for black skin with soft, juicy flesh underneath, and don’t leave peppers over a flame or under the broiler unattended.
- Bland flavor: They were rinsed. Peel with your fingers and a small knife instead, and save the juices.
How to Use Roasted Peppers
Here’s how I used my test batches:
- Muhammara. Sweet, slightly smoky roasted red peppers are the heart of my muhammara (roasted red pepper and walnut dip), and they worked particularly well there.
- Simple pepper salad. Slice peeled peppers into strips and toss with parsley, olive oil, lemon, garlic and salt. Use a good extra virgin olive oil here; my guide to how to cook with olive oil explains why it shines in uncooked dishes.
- Pasta. Chop roasted peppers and toss them through pasta with olive oil, garlic and herbs.
They’re also lovely in grain bowls; my Mediterranean grain bowls guide shows how to build one. And if you’d rather roast peppers alongside other vegetables, my Greek briam bakes large pepper pieces with potatoes, eggplant and zucchini, and my vegetable roasting times and temperatures chart has tested times for pepper strips.
Storing Roasted Peppers
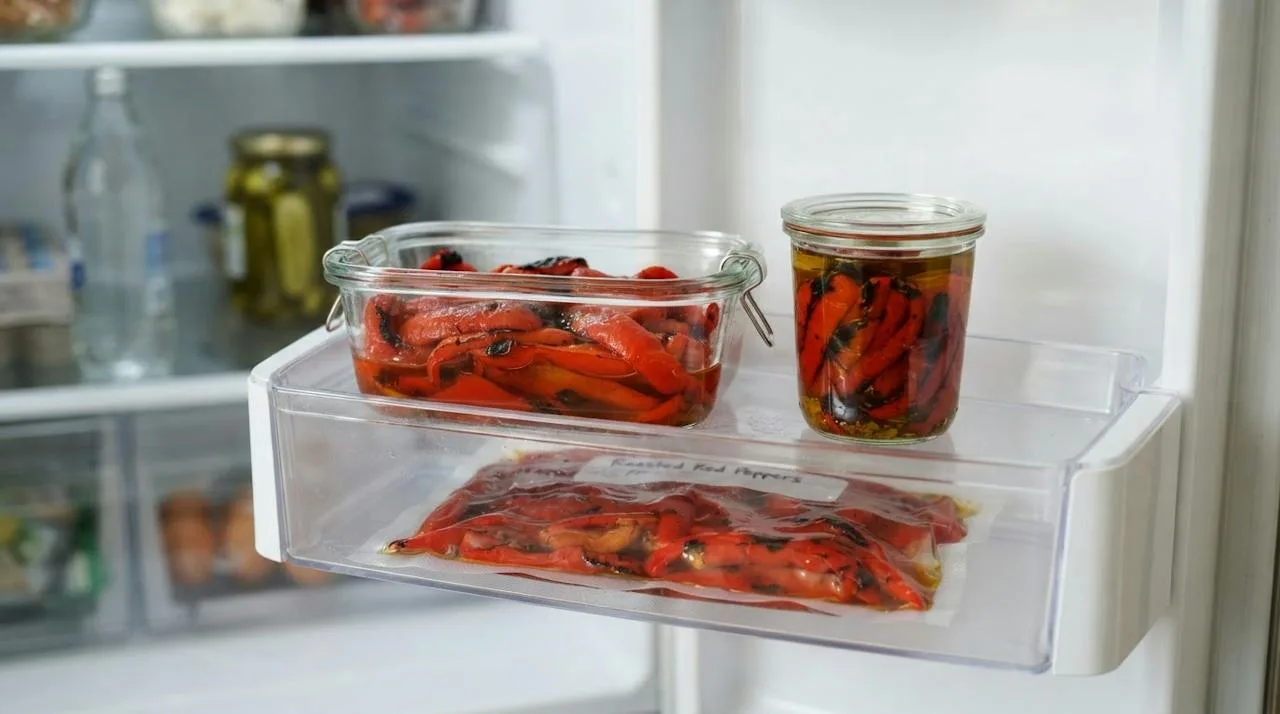
Refrigerator: Store peeled peppers in an airtight glass container in the fridge. Here’s how mine changed:
- Day 1: Very juicy, soft but still holding together well.
- Day 2: Slightly deeper flavor; the peppers were softer.
- Day 3: Still good, but noticeably softer, with more liquid collected in the container.
By day 4, the texture was getting too soft for a salad, so I’d use them in cooked dishes by then. For safety, follow the USDA’s leftovers and food safety guidance: refrigerate within 2 hours and use within 3 to 4 days. My texture notes aren’t a safety guarantee.
In olive oil: I also kept a small batch covered with olive oil in the fridge. Covering peppers with oil doesn’t make them shelf-stable. The CDC advises refrigerating homemade oils made with garlic or herbs and throwing them away after 4 days, because those mixtures can allow botulism bacteria to grow, and I treat roasted peppers in oil with the same caution. Keep them in the fridge, use them within 4 days, and never store homemade roasted peppers in oil at room temperature. My Mediterranean preserving and brining guide covers safer ways to preserve vegetables long-term.
Freezer: I froze roasted peppers too. They turned mushy after thawing, but they were still useful in sauces and cooked dishes.
Mediterranean Secret: Save the juices. When you open the roasted peppers over a bowl, the liquid that collects is sweet and smoky. Spoon it over the peppers in storage, or whisk it into a vinaigrette.
Continue Learning
- Roasting vegetables the Mediterranean way: the complete guide
- Muhammara: roasted red pepper and walnut dip
- Vegetable roasting times and temperatures chart
With a bowl of silky peppers and a jar of their juices, Nevaeh Hall


